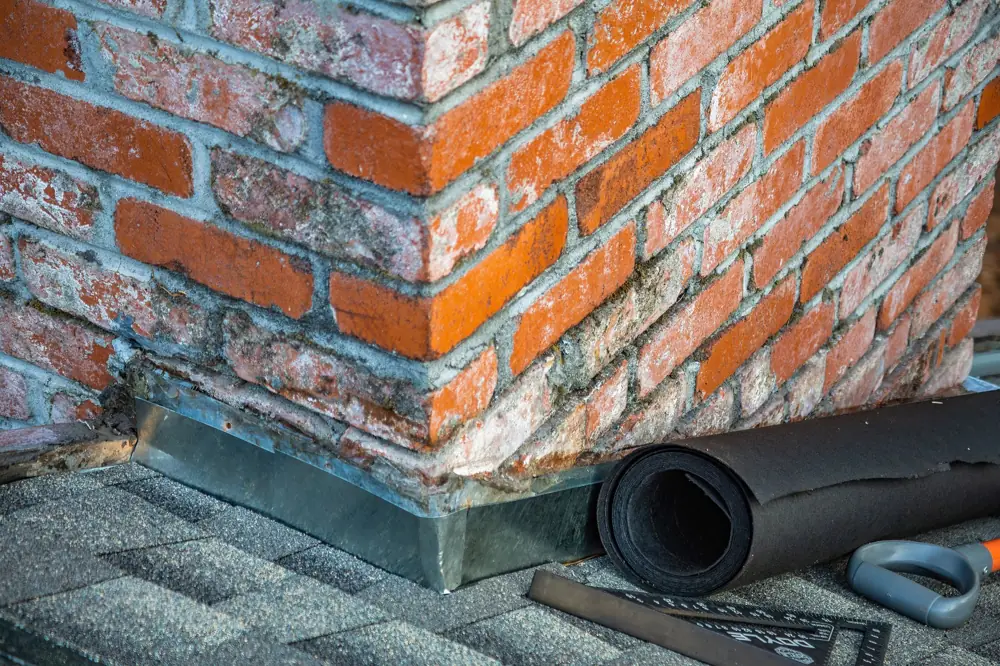
Roof Flashing Repair Cost USA Guide
By the Ridge Home Editorial Team — reviewed for accuracy. Last updated 2026. This article is for informational purposes and reflects typical market pricing; obtain local quotes for your specific project.
Roof flashing repair in the USA typically costs between $200 and $1,500 for most jobs, or roughly $15 to $30 per linear foot for the flashing work itself. The final price depends on the flashing’s location, the material used, the extent of any water damage found, and access to the area. A simple pipe boot or step-flashing repair may cost $200 to $500, while re-flashing a chimney or addressing widespread failure with resulting deck damage can exceed $2,000. This guide explains flashing repair costs, why flashing is the most common source of roof leaks, and how to have the work done right.
Roof Flashing Repair Cost Overview
Flashing is the thin metal that seals the joints and transitions on a roof — around chimneys, in valleys, along walls, and at vents and skylights. It is where most roof leaks begin, not in the field of shingles. Because flashing repair is often small in scope but high in consequence, budgeting focuses on the specific location and whether water has already reached the decking or interior. A minor repair caught early is inexpensive; the same failure ignored for a season can turn into a costly deck and drywall repair.
Contractors price flashing repair per job or per linear foot, plus any resulting damage repair. The table below shows indicative 2026 costs by flashing type and scenario.
| Flashing Location | Typical Scope | Indicative Cost |
|---|---|---|
| Pipe boot / vent | Replace cracked boot, reseal | $150 – $400 |
| Step flashing (wall) | Replace section along a wall | $300 – $800 |
| Valley flashing | Repair or replace valley metal | $400 – $1,200 |
| Chimney flashing | Re-flash and counter-flash | $500 – $1,800 |
| With deck/interior damage | Add repairs to sheathing/drywall | +$300 – $1,500 |
These figures assume reasonable access. The sections below explain what moves your repair within these ranges.
What Flashing Repair Includes
A proper flashing repair includes identifying the true source of the leak (often not directly above the interior stain), removing the failed flashing and any surrounding shingles as needed, inspecting the decking for moisture damage, installing new flashing correctly integrated with the shingles and underlayment, and sealing appropriately with compatible materials. A common mistake by inexperienced roofers is simply smearing sealant over failing flashing, which buys weeks, not years. Correct repair integrates new metal into the roof system.
What Determines Your Flashing Repair Price
Flashing repairs vary in cost because location, access and hidden damage differ so much.
Location, Material and Hidden Damage
The flashing’s location is the primary driver: a ground-accessible vent boot is quick, while chimney or high-wall flashing requires more labor and often staging. Material matters too, with aluminum cheapest, galvanized steel common, and copper the premium long-life choice. The biggest variable is hidden damage: once the flashing is opened up, rotted decking or wet insulation raises the cost, which is why a thorough contractor inspects before quoting a firm price.
Types of Roof Flashing
Understanding the flashing types helps you interpret a quote and judge the work.
Step, Valley, Chimney and Vent Flashing
Step flashing is the series of bent metal pieces where a roof meets a wall, woven into each shingle course. Valley flashing lines the channels where two roof planes meet and carries heavy water flow. Chimney flashing combines base, step and counter-flashing to seal around masonry and is the most complex to do correctly. Vent and pipe flashing (boots) seal roof penetrations and are the most common failure point as the rubber gaskets crack with age. Knowing which type has failed helps you understand the scope and cost of the repair.
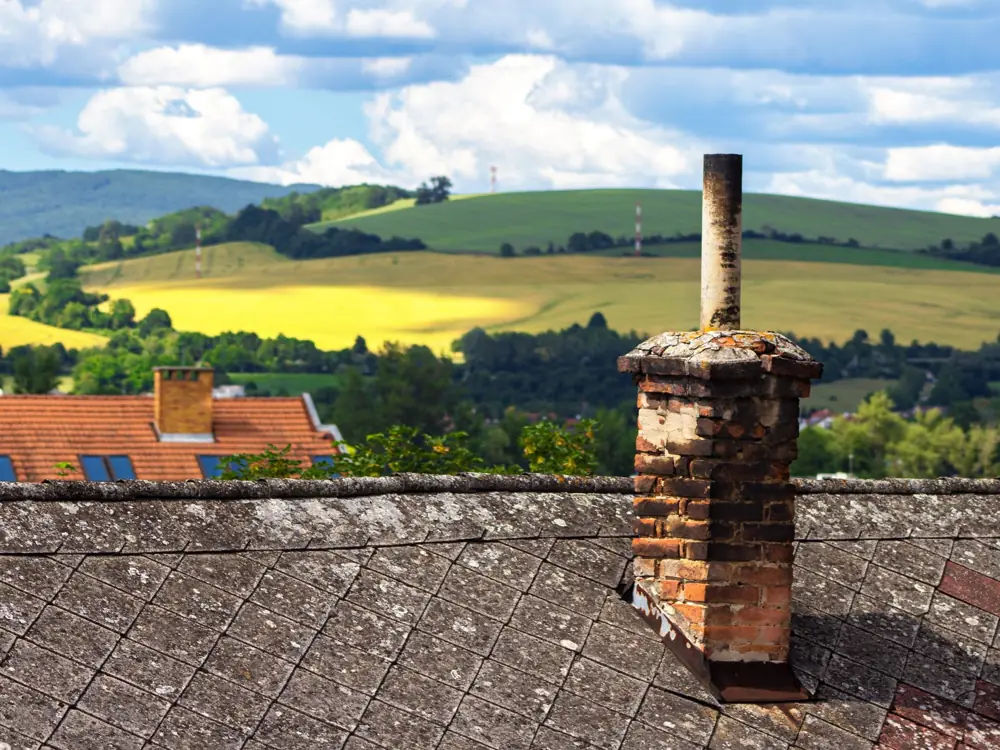
Real USA Repair Cost Scenarios
Concrete examples show how location and damage shape the total.
Minor, Moderate and Major Examples
Minor repair: A cracked plumbing vent boot on a single-story home in Georgia, caught before interior damage. Expect $180 to $350. Moderate repair: Failed step flashing along a dormer wall in Ohio with minor sheathing dampness. Expect $600 to $1,000 including a small deck repair. Major repair: Deteriorated chimney flashing on a two-story home in Massachusetts that has leaked for a season, requiring new counter-flashing plus deck and ceiling repair. Expect $1,800 to $2,800. Addressing flashing at the first sign of a stain keeps almost every repair in the minor category.
How to Choose a Roofer for Flashing Work
Flashing repair rewards experience, because correct integration with the roof is a skill, not a caulk gun.
Experience, Diagnosis and Red Flags
Choose a roofer who diagnoses the actual leak source rather than guessing from the interior stain, and who proposes replacing failed flashing rather than sealing over it. Confirm licensing and insurance, and get the flashing material and scope in writing. Be wary of anyone who relies solely on sealant, who cannot explain how the new flashing integrates with the shingles, or who quotes a firm price without inspecting. A quality contractor stands behind flashing repairs with a workmanship guarantee.
The Repair Process and Timeline
Most flashing repairs are completed quickly once the source is correctly identified.
What to Expect On Site
A typical flashing repair takes a few hours to a full day. The roofer locates the leak source, carefully removes surrounding shingles and the failed flashing, inspects and repairs any damaged decking, installs new flashing woven correctly into the shingle courses, and seals transitions with compatible material. For chimneys, this includes cutting counter-flashing into the mortar joints. The area is then weather-tested where possible. Because water can travel along the deck before appearing inside, correct diagnosis is the most important and skilled part of the job.
Prevention and When to Act
Flashing failures are highly preventable, and acting early is the key to keeping costs low.
Catching Problems Before They Spread
Watch for interior ceiling stains near chimneys, walls or vents, for lifted or corroded metal visible from the ground or during inspection, and for cracked rubber vent boots, which have a shorter life than the roof itself. Have flashings inspected during routine roof checks and after major storms. Replacing an aging vent boot proactively costs a few hundred dollars; ignoring it until it rots the deck and stains the ceiling costs many times more. Early action is by far the most economical strategy.

Frequently Asked Questions
Why does flashing fail before the rest of the roof?
Flashing sits at the roof’s most stressed points — joints, transitions and penetrations — and rubber vent boots in particular degrade in UV faster than shingles. This is why flashing is the leading source of roof leaks even on relatively new roofs, and why it deserves regular inspection.
Can I just seal a leaking flashing myself?
Sealant is a temporary measure at best. It may stop a leak for a short time, but proper repair replaces the failed flashing and integrates new metal with the shingles and underlayment. Relying on sealant alone usually leads to a recurring leak and eventual hidden damage.
How long should flashing last?
Quality metal flashing can last the life of the roof, but rubber vent boots often fail in 10 to 15 years and may need replacing before the shingles do. Copper flashing lasts longest, while aluminum and galvanized steel are more affordable but shorter-lived.
Cost-Saving Strategies for Flashing Repair
Flashing repair is inexpensive when handled early, and timing is the single biggest cost lever. Acting at the first ceiling stain or sign of lifted metal keeps the job to the flashing itself, avoiding the deck, insulation and drywall repairs that a season of leaking adds. Bundling a flashing repair with other roof work shares the access cost, and replacing an aging rubber vent boot proactively during a routine inspection costs a fraction of the damage a failed one causes.
Where to Spend and Where to Save
Spend on correct diagnosis and on new flashing properly integrated with the shingles, rather than sealant smeared over a failing joint. Where longevity matters, spend on copper flashing that can last the life of the roof. Save by addressing problems early while they are small, and by having a roofer already on site for other work handle minor flashing at the same time. The costliest path is always delay.
Why Early Action Pays
Flashing failures follow a predictable and expensive escalation: a small leak wets the sheathing, then the insulation, then the ceiling, multiplying the repair cost with each stage. Because water can travel along the deck before appearing inside, the visible damage often lags the actual failure. Homeowners who treat the first stain as urgent keep almost every flashing repair in the inexpensive range, while those who wait convert a modest job into a structural one.
Impact on Home Value and Resale
Sound flashing and no evidence of leaks reassure buyers and home inspectors, for whom water stains are a major red flag. Documented flashing repairs and a leak-free interior support the sale, while telltale ceiling stains prompt inspection call-outs, buyer anxiety and price reductions well beyond the cost of the original repair. Keeping flashing sound protects both the structure and the home’s marketability.
Common Mistakes to Avoid
The frequent errors are relying on sealant instead of replacing failed flashing, misdiagnosing the leak source from the interior stain alone, ignoring aging vent boots until they rot the deck, and hiring an inexperienced roofer who caulks rather than integrates new metal. Delay is itself the most common and costly mistake.
Questions to Ask Before Signing
Ask how the roofer will confirm the true leak source, whether they will replace the flashing or merely seal it, what metal they will use, and whether any deck damage will be inspected. Confirm the workmanship guarantee. Clear answers indicate a professional who fixes the cause rather than masking the symptom.
How can I tell where a roof leak is really coming from?
Interior stains rarely sit directly below the entry point, because water travels along the deck and rafters before dripping. A roofer traces the path from the stain upward, checking flashings, penetrations and valleys uphill of the mark. This is why experienced diagnosis matters: fixing the visible spot without finding the true source leaves the leak active.
How long do rubber vent boots last?
The rubber gaskets on plumbing vent boots typically last 10 to 15 years, often failing before the shingles around them as UV cracks the rubber. Because they are cheap to replace but cause expensive leaks when they fail, proactively renewing aging boots during a routine inspection is one of the most cost-effective pieces of roof maintenance.
Summary and Next Steps
Roof flashing repair is a small job with big consequences, typically costing American homeowners between $200 and $1,500 depending on location, material and any hidden damage. The smartest approach is to act at the first sign of a stain, insist on replacing failed flashing rather than sealing over it, use a roofer who diagnoses the true leak source, and choose durable materials like copper where longevity matters. Have flashings inspected regularly, address aging vent boots proactively, and you will keep the most common cause of roof leaks from ever becoming an expensive interior repair.